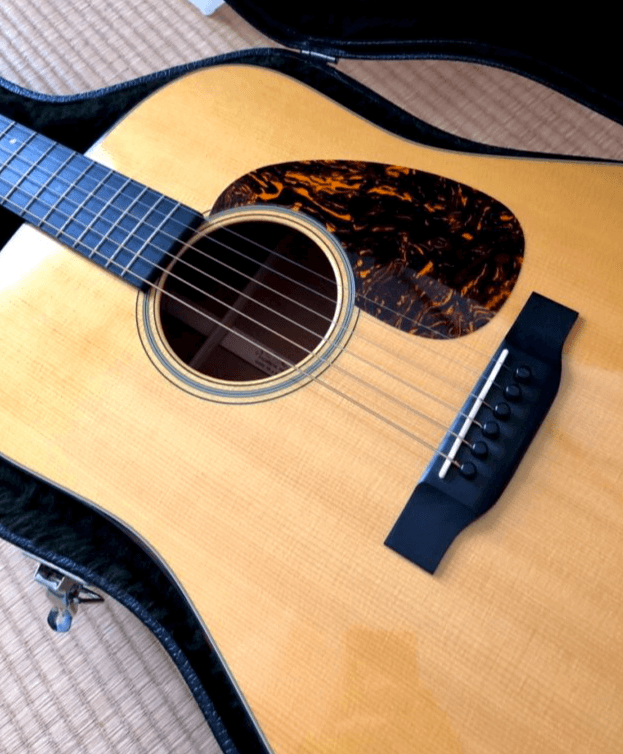
I have been playing the guitar as a hobby since I was a student. I mainly play instrumental songs for acoustic guitar, but I also like bluegrass and British folk, and recently I’ve been trying to play and talk. When I was a student, the guitar I bought for a part-time job that I saved by delivering kerosene at a gas station was Tokai Gakki’s Cat’s Eyes CE-5000F , but 30 years later, I bought Martin’s D18 (2013 model). I’m playing. I also like the Cat’s Eyes CE-5000F, so I still play it. This guitar has been around for almost 40 years without any problems and no repairs. This guitar was with me all the time when I hitchhiked in New Zealand. Martin D-18 has already undergone two repairs. The repair of the binding float was 10,000 yen per place . It’s quite expensive. (Moreover, I can’t play for about 2 weeks while I’m sending it out for repair.) It cost me 20,000 yen because I repaired two places on the front last time . This time too, the binding came up again from the constricted part of the body of Martin’s guitar that I had sent for repair before. For those who aim for perfect repairs or who are not in trouble with money , I think it is safer to ask a professional, but in my case, it is impossible to spend 40,000 yen at 4 locations . As a result, even I, an amateur, was able to repair it, so this is an introduction.
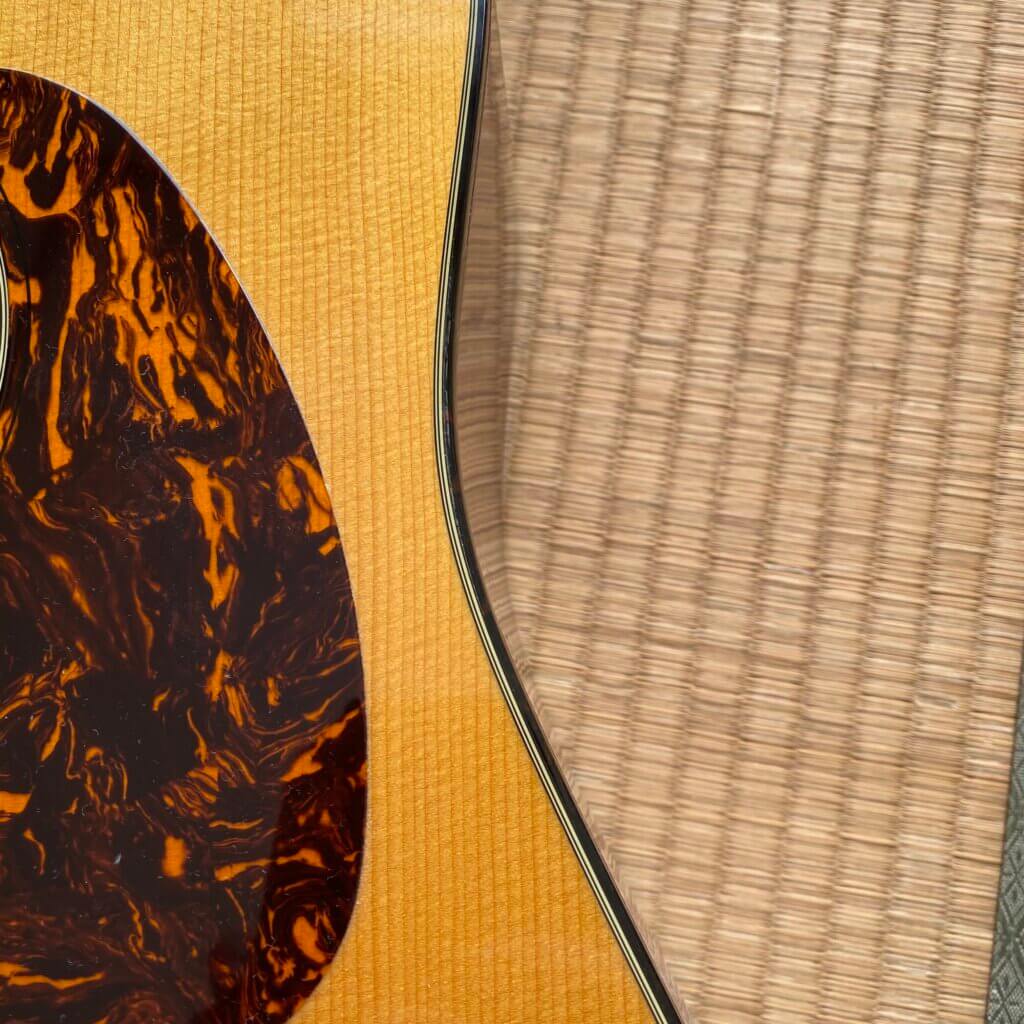
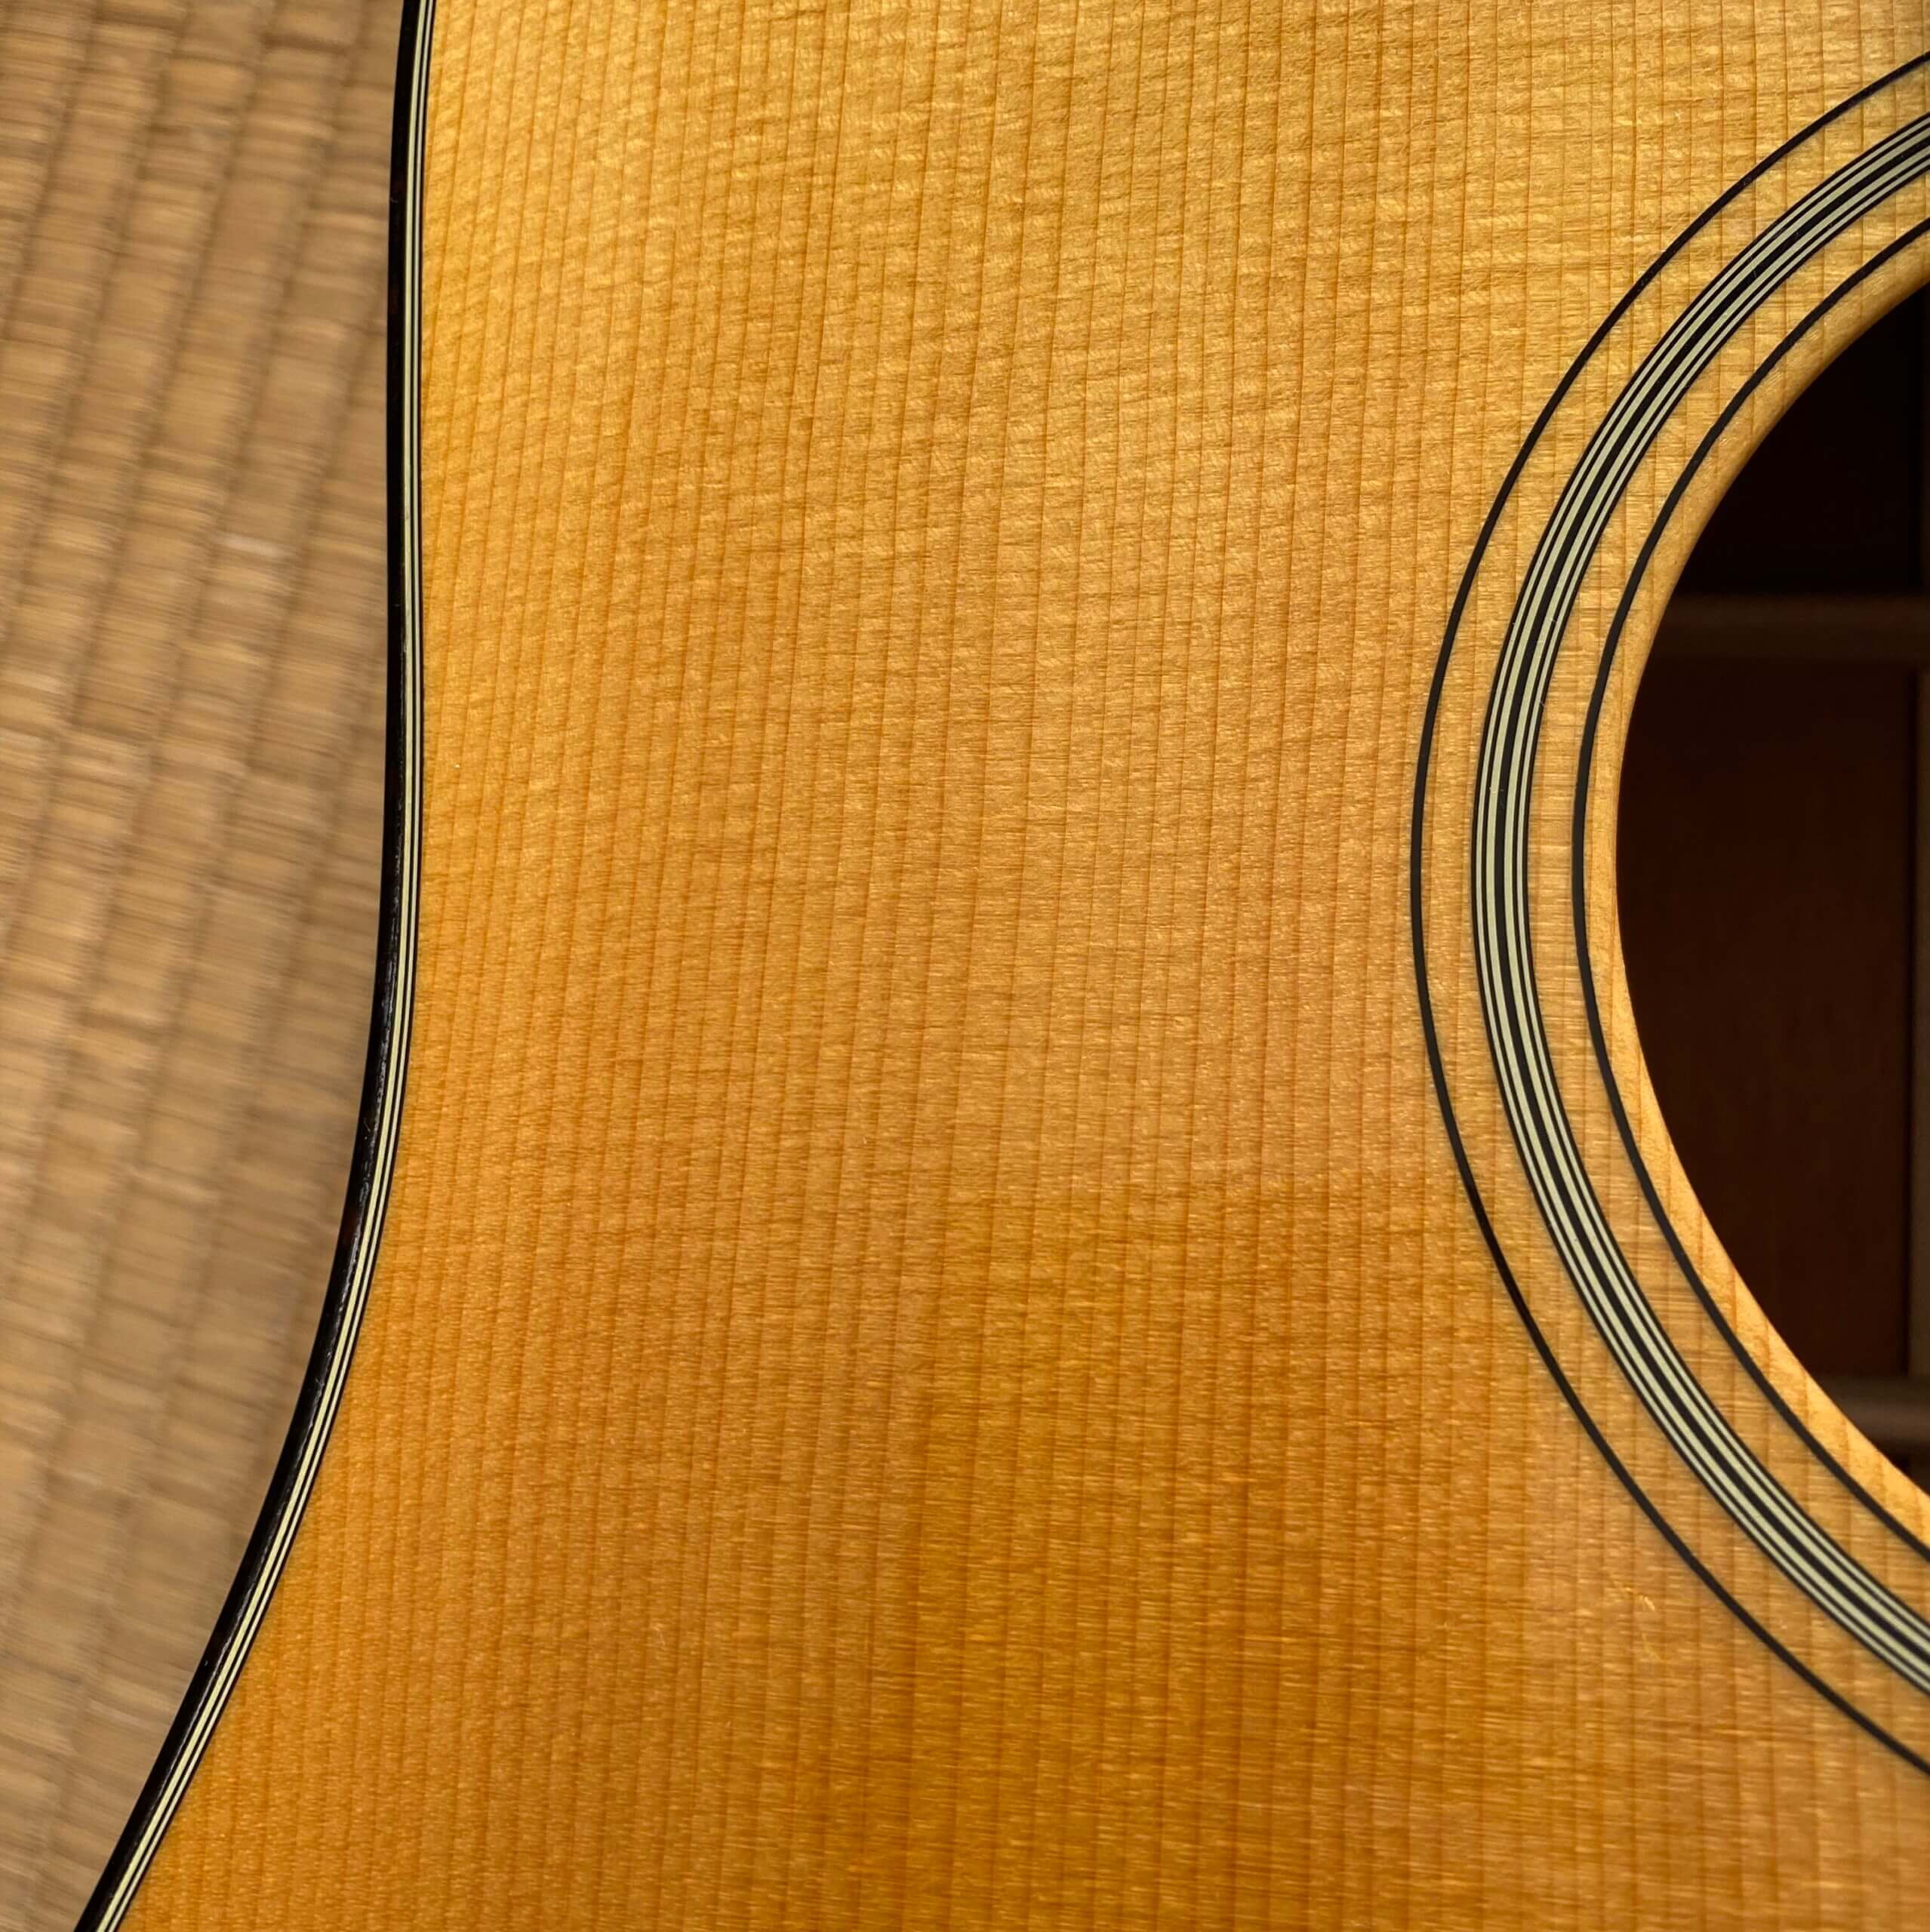
Binding condition (before repair)
The binding is floating, but I barely noticed it at first.
But when I approached it and looked it up. .. .. It’s floating. * o *
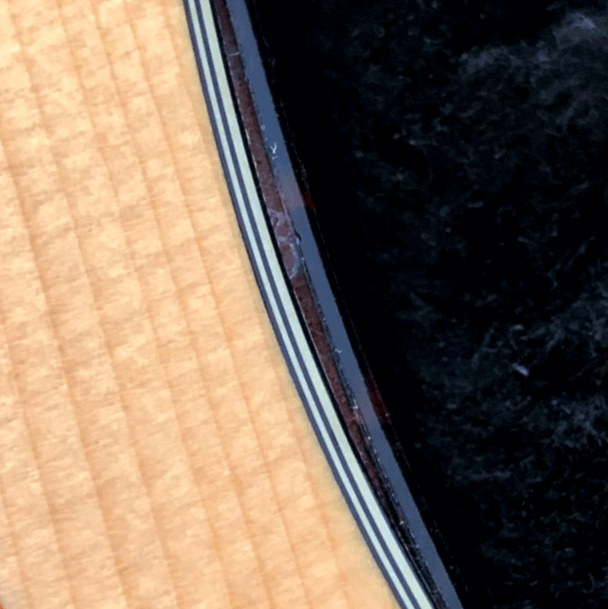

I didn’t notice it when I kept it in the case, but when I took it out and played it, I felt that my fingers were caught in the constricted part of the body, and I noticed. It’s the second time, so I’m shocked.
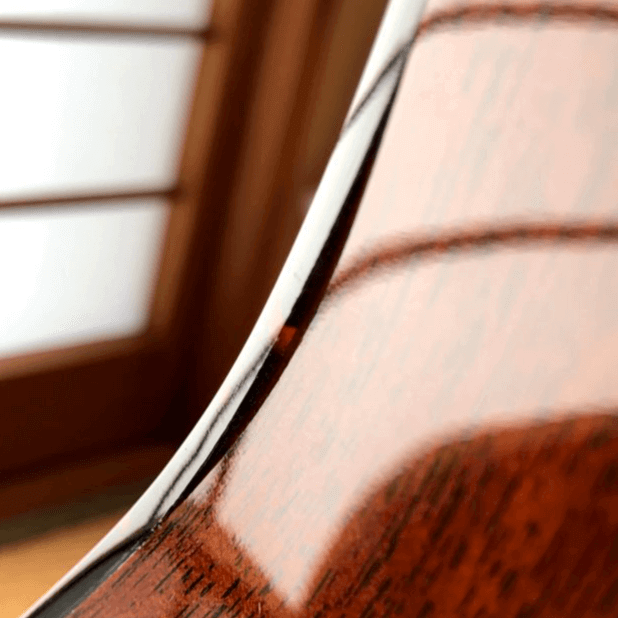
If you leave it as it is, the binding will shrink and the float will become worse. Why did it come up again? Did the previous repaired musical instrument store repair it properly? I was wondering. I also put the humidity control agent in the case, so I don’t think it was a bad way to store the guitar, but I regret that it was a failure to put it in a Japanese-style room where it gets hot in the summer. increase. Maybe it’s better to leave it outside and expose it to the outside air than to put it in a case. ( Now I put the guitar on guitar stand so that I can play it at any time. Sometimes I get scratched by hitting it, but it’s better than the binding peeling off ? Well, I hate that too … ) The binding is aged. It seems that it often shrinks and is pulled little by little and peels off from the constricted part. There was an article saying that it is common in Martin, but I am troubled that the same problem will occur again even though I had it repaired in the past. In that respect, the manufacturing technology of the old Tokai musical instrument Cat’s Eyes is amazing.
If you leave it alone, the binding will be shortened as a whole, and it will be difficult to replace all of them, so I decided to do DIY repairs immediately in this state.
Repair procedure
The repair procedure is as follows.
- Wipe the guitar clean.
- To prevent accidental damage to the body and sides during work, apply masking tape to protect it.
- Remove any dust (adhesive?) Between the binding and the body. If it is stuck, scrape it.
- Apply superglue between the binding and the body (I bought it because it has a thin nozzle)
- After adhering, tighten with a clamp for a while and leave until it is completely adhered.
- Peel off the masking tape and remove any protruding adhesive.
that’s all.
Adhesive used for repair
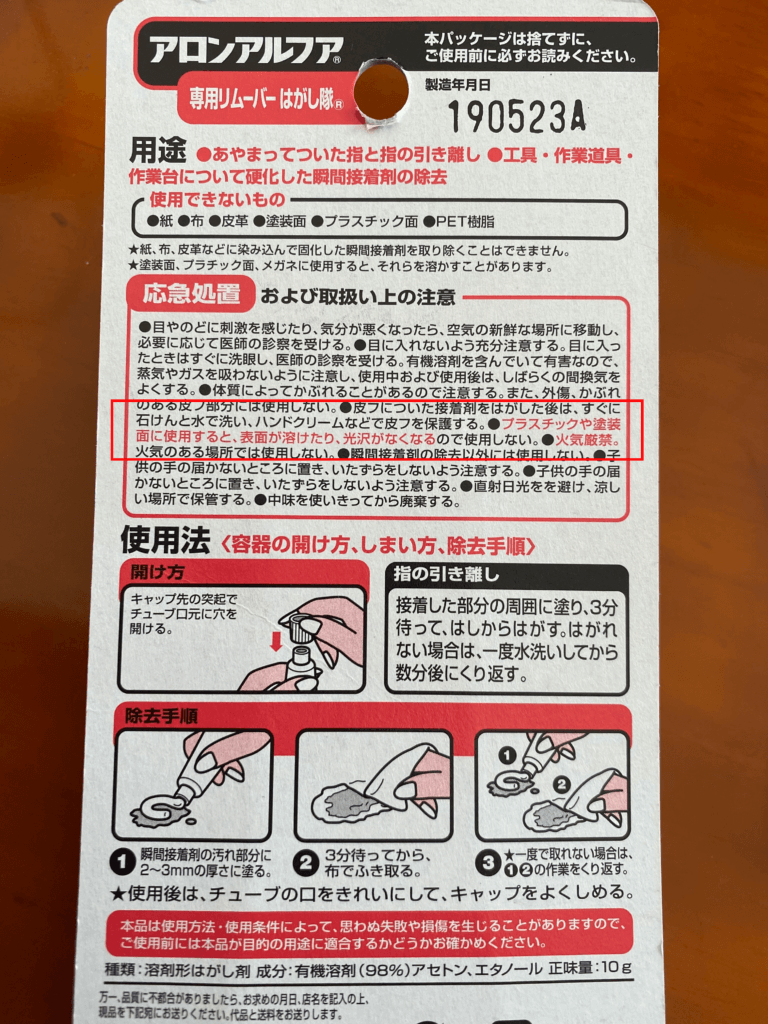
I used super glue to bond the binding to the body. I searched on the net and even a professional repairman repaired it using instant adhesive, so I used it as a reference. Actually, I searched online to find out what kind of special adhesives are on sale , but I stopped because it costs shipping costs to purchase online. I didn’t buy a special adhesive because I didn’t need it so often, so I used an instant adhesive. Aron Alpha can be used for other purposes.
So, I went to a nearby home improvement store and purchased two types of adhesives, medium viscosity and low viscosity, and a special ultra-fine nozzle with a fine tip. I also bought a special peeling agent so that the adhesive can be removed immediately in case of failure. To tell the truth, I almost always wanted an adhesive to remove it because instant adhesive would cause the adhesive to stick to my fingers.
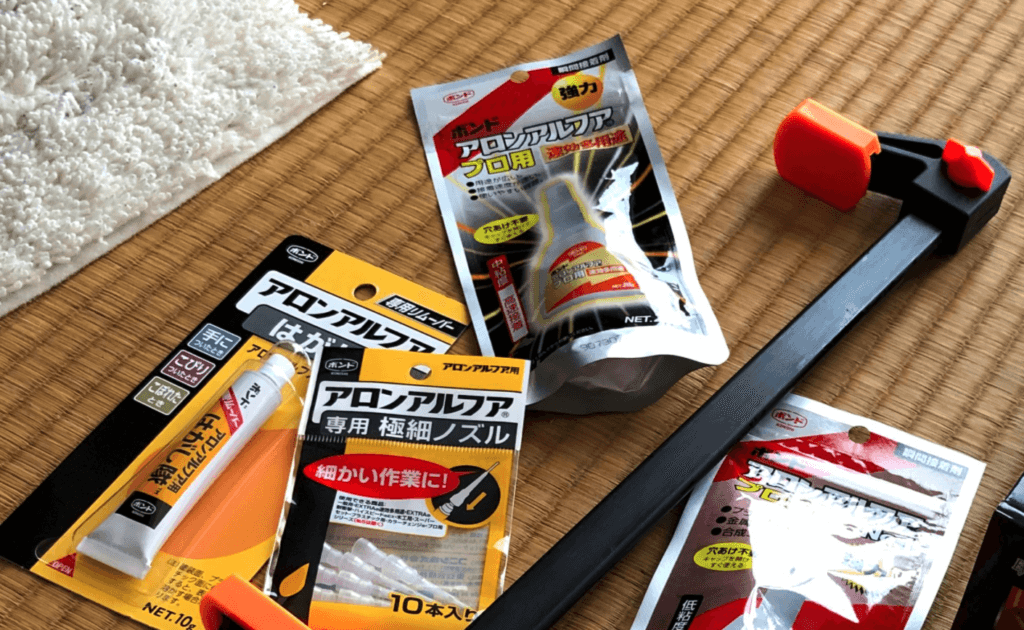
Tools used for repair
In my case, I bought a quick ratcheting bar clamp to keep it glued . I own some clamps because I need them for woodworking work, but I don’t own the ones that cover the width of the guitar body, so I bought it this time. (I wonder if it will be necessary for other woodworking work … It can be clamped up to 450mm width)

State during bonding
Dirt in the gap between the binding and the body, or after repairing by a professional before? After scraping off the dust from the adhesive, I used a very fine nozzle to pour in medium-viscosity Aron Alpha and gently press it with my finger to bond it. After that, in order to keep the presser from above, use masking tape to prevent it from floating. The low-viscosity Aron Alpha was used by pouring it in when a gap was created due to medium-viscosity adhesion. Since there is only one clamp of this size, I worked on the bonding of the binding on the front of the guitar and the floating of the binding on the back separately in two steps. It is like this. Between the guitar clamps is something like the hard styrofoam used in bath mats.

clamp
I made a big mistake trying to remove the adhesive that squeezed out! !!
In my case, after leaving it for about 3 hours, I removed the clamp and glued the binding on the back of the back in the same way, and it was glued perfectly without peeling off the masking tape . However, the adhesive squeezed out a little and was slightly white and adhered to the binding, so I applied a special peeling agent to the whitish part and wiped it off with a take, but it was scary! !!
How, the binding melts! !! It also loses the gloss of the surface.
This is something to watch out for. The ingredients used in the special peeling agent are acetone and ethanol, which dissolves the plastic. It was written in the instruction manual with a red frame . (I didn’t read .. orz)
I wasn’t careful about this, but I applied it little by little, so it didn’t matter, and I managed to recover the melted part to the extent that I could cheat. The whitish superglue was scraped off with 1000-2000 water resistant paper, and then the mirror-finished compound I had for the car was wiped off with a cloth.
In addition, low-viscosity Aron Alpha was poured into the areas where there were slight gaps in the adhesion to reinforce it
I was able to repair it (Before / After)
The repair is completed successfully. This is Before / After.
Before
After
I was able to glue the bindings to the extent that I didn’t mind at all. After that, there is nothing that will come up again so far.
summary
As you can see, in the case of a slight binding float like my case (even if you look closely, you can see the float and it gets caught with your finger), if you have a clamp and instant adhesive, you can repair it yourself. I can do it. Great care should be taken when removing the adhesive with a special remover. Don’t put too much on it. Also, even if the adhesive is removed safely, the luster of the binding will disappear and it will remain whitish. Please note that not only the plastic part but also the body loses its luster. Be careful with acetone.
For the final finish, I think it’s a good idea to polish it with water resistant paper and even with a mirror-finished compound. I think it would have been good to try using a plastic polishing cloth as well.
that’s all. I hope for your reference.
Thank you for reading to the end.

中粘度の木材用のアロンアルファ
投稿者プロフィール

-
”なんでも自分でやってみる” をテーマに、ブログを書いてます。素人には無理と思う様な事も、実際にやってみるとあっさりと出来たりする事もあります。失敗もありますが、失敗する事で経験となり、次は少し上達したりします。それが楽しいです。そんなDIYの情報を発信して行けたらと思ってます。仕事はAIやクラウド関連を担当してます。そんな訳でプログラミングやシステム構築も趣味と実益を兼ねてDIYを楽しんでます。ギターはもともとクラシックギターを学び、インストルメンタル専門でしたが、高校生の頃にテレビでみた卒業の映画でPaul Simonの曲に憧れて、それ以降いろんなジャンルの弾き語りも楽しんでます。S&Gの曲なら楽譜なしで弾けます。^^; また最近は独学でピアノも始めました。すでに4曲ほどレパートリーがあります。Twitterの方でも発信していますので、ぜひフォロー下さい。
(Amazonのアソシエイトとして、当サイト(diy-hs.com)は適格販売により収入を得ています。)
最新の投稿
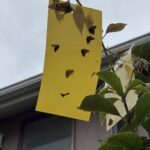 園芸DIY2026年7月5日チュウゴクアミガサハゴロモ対策に粘着シートを試してみた
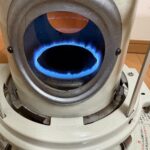 他DIY2026年3月31日アラジンのストーブ窓交換 DIY
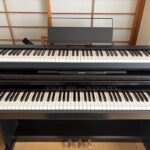 他DIY2026年3月21日Technics PX105 再利用 DIY
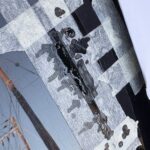 DIY全般2026年2月8日Honda CB1300 Final Edition タンクの傷修理 DIY


コメント